Travel California
Definition: Wanderlust | Wan·der·lust /ˈwändərˌləst/ noun: a strong desire to travel.
- Best Small Towns in California to Visit this Summer: Your Charming Getaway Guide
 California offers an array of charming small towns that are perfect for a summer getaway. With their unique attractions and relaxed atmosphere, these destinations provide a refreshing alternative to the bustling city life. You'll discover vibrant communities brimming with local history, arts, and stunning natural landscapes. Whether you're seeking a beachside retreat, a mountain hideaway, or a quaint village with a bustling main street, this list of the best small towns in California are idyllic spots for your summer vacation.
 - Best Beaches in Northern California: Your Guide to Coastal Bliss
 Northern California's coastline is a trove of picturesque beaches that cater to a variety of interests, from serene walks on the sand to adventurous water sports. Each beach boasts its unique charm, offering breathtaking views and an opportunity to disconnect from the hustle of everyday life. Whether you're seeking a family-friendly spot with ample amenities or a secluded retreat to commune with nature, this list of the best beaches in Northern California will provide a refreshing escape.
 - California's Newest State Park: A Haven for Nature Lovers
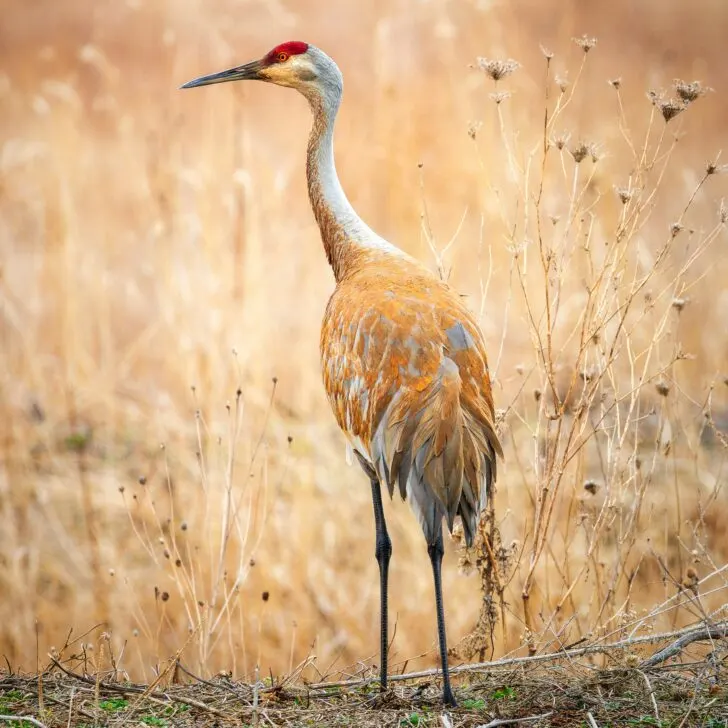 Nestled in the heart of California's fertile San Joaquin Valley, a refreshing new getaway awaits your discovery. The recently dedicated Dos Rios Ranch presents an opportunity for you to explore California's newest state park, where the natural beauty of the region has been lovingly preserved and made accessible for nature enthusiasts. Picture yourself strolling through 1,600 acres of rich landscapes where the Tuolumne and San Joaquin rivers converge, an idyllic setting for outdoor activities and relaxation.
 - 17-Mile Drive in Monterey: Scenic Coastal Journey Tips
 Nestled along the ruggedly beautiful California coast, 17-Mile Drive in Monterey offers you an opportunity to experience one of the area's most enchanting attractions. This scenic road meanders through Pacific Grove and Pebble Beach, providing you with stunning vistas of wind-sculpted cypresses, dramatic cliffs, and the untamed Pacific Ocean. As you journey along this famed route, you're invited to soak in the natural splendor that has captured the hearts of travelers for over a century.
 - Crystal Cove State Park: A Guide to Coastal Wonders
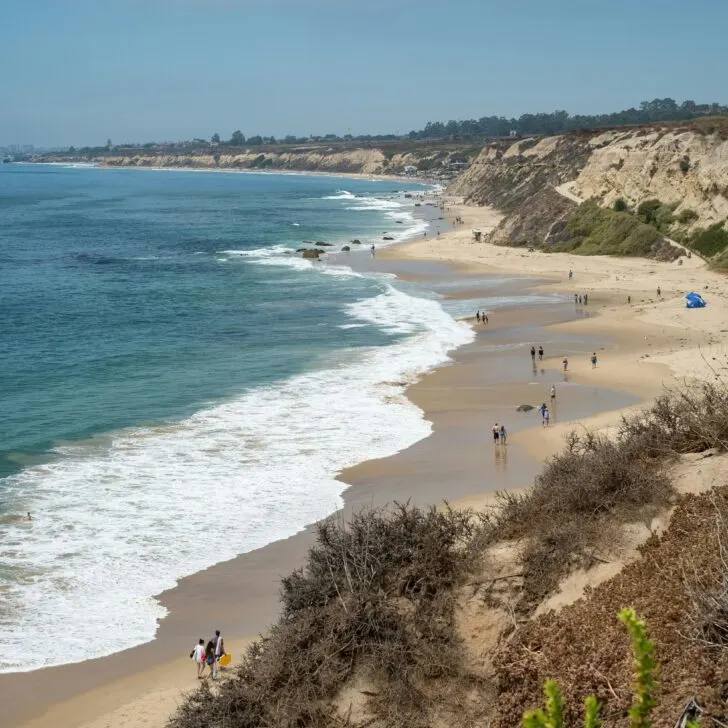 Nestled along the picturesque coastline of California, Crystal Cove State Park boasts a delightful blend of natural and cultural resources. Sprawling over 2,400 acres, this state park offers you a chance to immerse in a variety of experiences, from exploring its 3.2 miles of pristine beach to wandering the trails through backcountry wilderness. You'll find the historic district of Crystal Cove is a charming collection of vintage cottages that add a touch of old-world charisma to the scenic park.
 - Complete Guide to Leo Carrillo State Park: A Coastal Gem for Nature Lovers
 Nestled along the scenic Malibu coast, Leo Carrillo State Park offers you a harmonious blend of sun-kissed beaches and rugged backcountry wilderness. With its 1.5 miles of pristine coastline, you have the perfect opportunity to indulge in an array of beach-bound activities including surfing, swimming, and exploring fascinating tide pools and sea caves. Whether you're looking to catch a wave or simply soak up the California sun, this park provides the ideal seaside escape.
Check out even more exciting places to visit: TRAVEL CALIFORNIA
New + Fresh
A collection of delicious recipes for the home cook.
- Cheese Board Ideas for Beginners: Easy and Delicious Options to Try
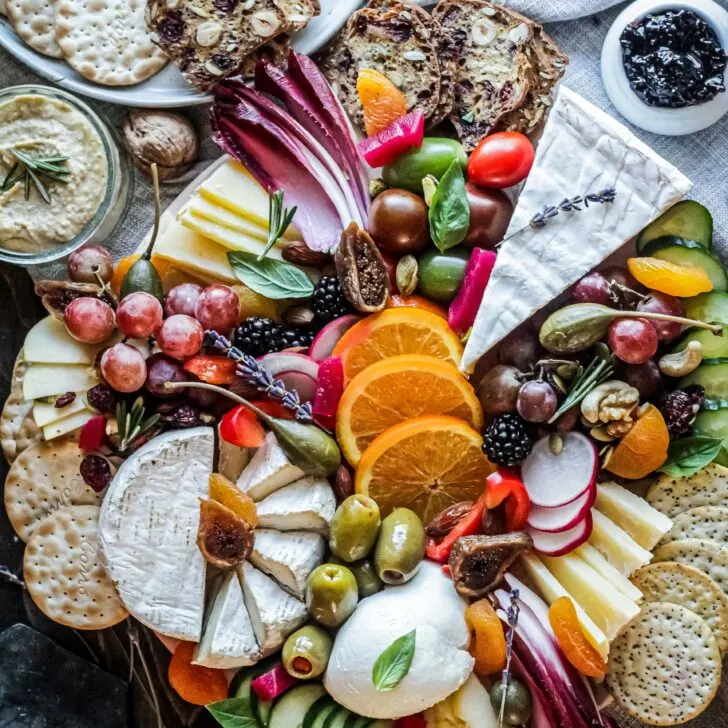 Are you new to the world of cheese boards? Don't worry, you're not alone! Many people find themselves overwhelmed when it comes to creating a cheese board for the first time. However, with a few tips and tricks, you can create a beautiful and delicious cheese board that will impress your guests (or just yourself!).
 - Snapper & Pernod-Infused Cioppino Recipe: A Delicious Seafood Dish
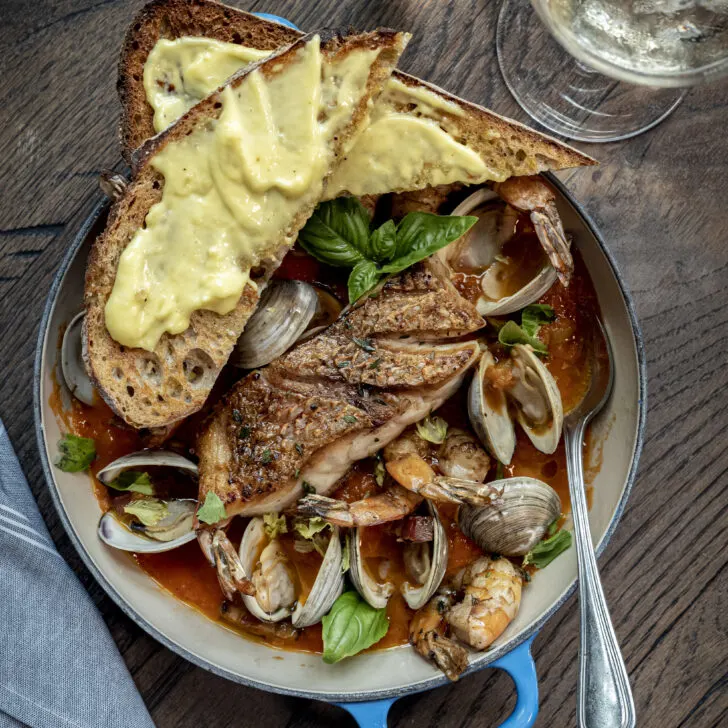 Celebrate this holiday season with the Italian flair of this Snapper & Pernod-Infused Cioppino Recipe with Saffron Aioli.
 - Kale and Quinoa Salad Recipe with Simple Lemon Dressing: A Delicious and Healthy Meal Option
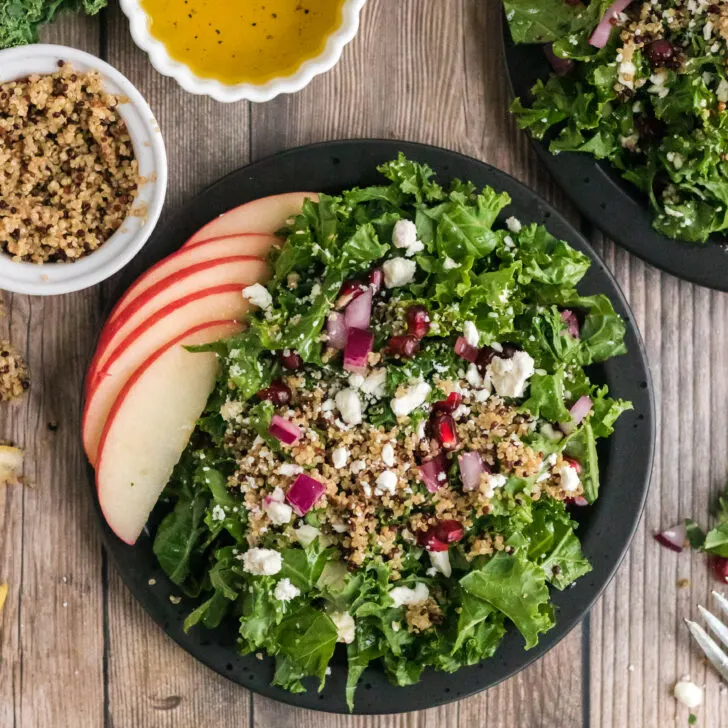 Our Kale and Quinoa Salad with Simple Lemon Dressing is a versatile dish that pairs well with a variety of main courses. For a light lunch, we recommend serving this salad with grilled chicken or fish.
 - High Protein Power Salad Recipe: A Delicious and Nutritious Meal
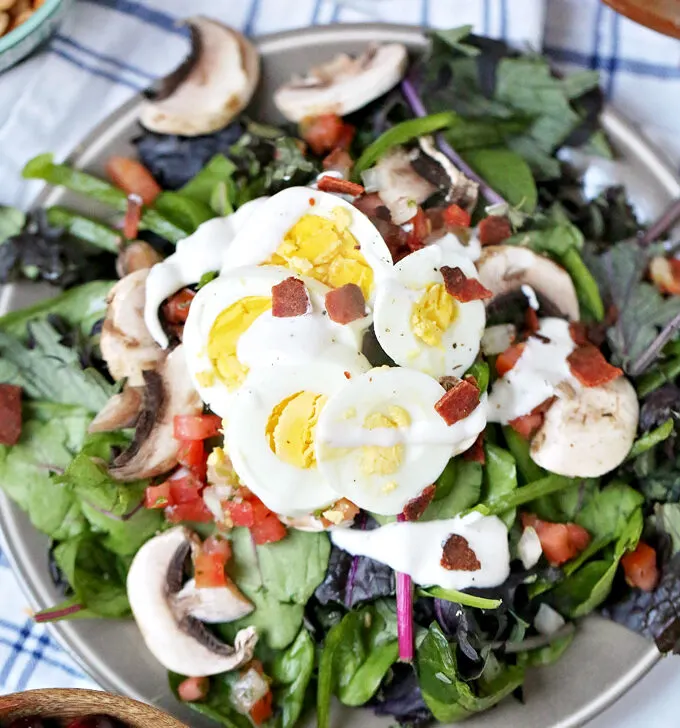 If you're looking to increase your protein intake, a high-protein salad is a great place to start. Protein is an essential nutrient that plays a key role in building and repairing tissues, as well as supporting a healthy immune system.
 - Hearty Veggie & Citrus Salad Recipe: A Refreshing and Nutritious Dish
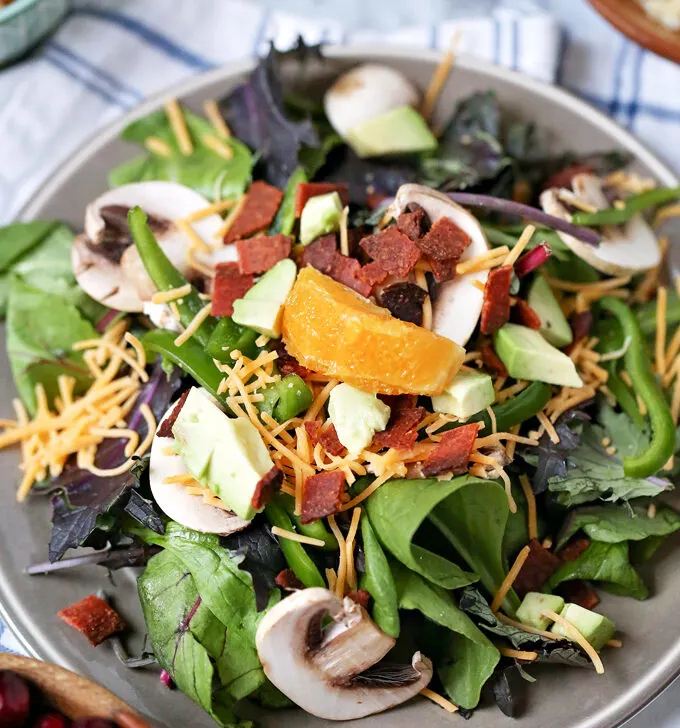 Whether you're a vegan or just looking for a healthy meal option, this Hearty Veggie & Citrus Salad Recipe is sure to be a hit.
 - Cranberry and Pecan Salad Recipe: A Delicious and Healthy Meal
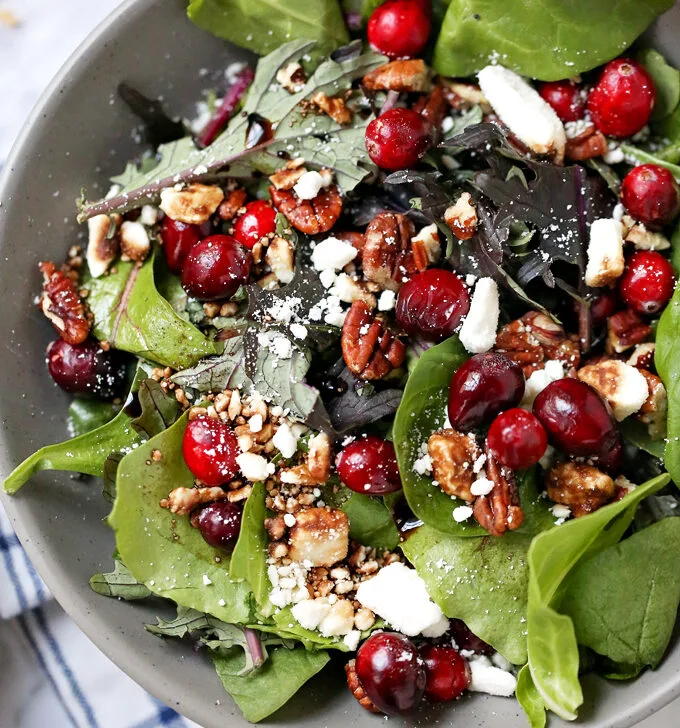 Our Cranberry and Pecan Salad is a versatile dish that can be served as a side or main dish. It pairs well with a variety of proteins, such as chicken, turkey, or ham.
Find more delicious recipes we know you'll love: New + Fresh Recipes
Free Printables
Enjoy these free gifts for you and your family.
- Free Printable Spring Wall Art: Decorate Your Home with These Charming Prints
 Spring is a beautiful season, and it's the perfect time to refresh your home decor. One easy and affordable way to do this is by adding some free printable spring wall art. Whether you're looking for floral prints, inspirational quotes, or cute animals, there are plenty of options available online.
 - Free Printable Spring Break Travel Journal: Keep Track of Your Adventures
 Are you planning a fun-filled Spring Break trip with your family? Do you want to capture all the precious moments and memories in a creative and organized way? Look no further than a Free Printable Spring Break Travel Journal! This journal is a perfect way to keep track of your adventures and create lasting memories.
 - Free Printable Lemonade Stand Kit: Start Your Own Business Today!
 With our free printable lemonade stand kit, your kids can customize their lemonade stand to make it truly their own. And with easy-to-follow instructions, they can set up their stand in no time. So why not give it a try and see what kind of entrepreneurial spirit your kids have?
 - Free Printable Easter Egg Holder: DIY Craft for Kids
 Are you looking for a fun and easy way to display your Easter eggs this year? Look no further than these free printable Easter egg holders! These adorable paper holders come in a variety of designs and are the perfect way to showcase your decorated eggs. Plus, they make a great addition to any Easter table setting.
 - Free Printable Easter Gift Tags: Add a Personal Touch to Your Gifts
 Easter is just around the corner, and it's time to start thinking about how to make the holiday special for your loved ones. One way to add a personal touch to your Easter gifts is by using free printable Easter gift tags. These tags are a great way to add a pop of color and a touch of whimsy to your presents, and they're easy to customize to suit your style.
 - Free Printable Easter Verse Activity: Fun for the Whole Family!
 Are you looking for a fun and engaging way to teach your children about the true meaning of Easter? Look no further than our Free Printable Easter Verse Activity! This activity is perfect for children of all ages and is a great way to incorporate the Easter story into your family's holiday celebrations.
Let our free printables help make your next event amazing: Free Printables
About California Unpublished
Celebrating the California Lifestyle: Embracing the Sunshine, Beaches, and Healthy Living
California is a state that is known for its laid-back lifestyle, beautiful beaches, and diverse culture. It's a place where people come to enjoy the sunshine, surf, and sand, and where they can experience a range of different activities and events. At the heart of the California lifestyle is a sense of community, where people come together to celebrate their shared values and interests.
As we move into 2024, there are many exciting ways to celebrate the California lifestyle. From festivals and concerts to outdoor activities and food events, there is always something happening in this vibrant state. Whether you're a local or a visitor, there are plenty of opportunities to get involved and experience all that California has to offer.
One of the best things about celebrating the California lifestyle is the sense of community that comes with it. Whether it's through attending a festival or joining a local group, there are many ways to connect with others who share your interests and passions. So why not join us as we explore the many ways to celebrate the California lifestyle in 2024?
Embracing the Golden State
California is a state that has captured the hearts of many. From its bustling cities to its natural beauty, the Golden State has something for everyone. As proud Californians, we want to share with you some of the things that make our state so special.
From Cities to Nature
California is home to some of the most iconic cities in the world, including San Francisco, Los Angeles, and Hollywood. But beyond the glitz and glamour, there are many other communities that make up the fabric of our state. From Venice Beach to San Diego, there are countless neighborhoods that offer their own unique charm.
In addition to our cities, California is also known for its natural beauty. With state parks, national parks, and landmarks like Yosemite National Park and Joshua Tree, there are endless opportunities for hiking, camping, and exploring the great outdoors.
Cultural Diversity and Traditions
One of the things that makes California so special is its diversity. We are home to people from all walks of life, and our state is richer for it. From the Aztecs to the masks of the Pacific Northwest, our state has a long history of honoring the voices and cultures of all who call it home.
We also have a rich tradition of festivals and events that celebrate our diversity. From the Chinese New Year Parade in San Francisco to the Day of the Dead celebrations in Los Angeles, there is always something to see and experience.
California Lifestyle Foundation
At the heart of the California lifestyle is a spirit of innovation and creativity. We are a state that is always pushing forward, and that attitude is reflected in our many companies and organizations. One such organization is the California Lifestyle Foundation, which rewards team members who embody the positive vibes and innovative spirit of our state.
If you're looking to give back, the California Lifestyle Foundation, Inc. is a great place to start. You can donate to support their mission of promoting a healthy, active, and creative lifestyle for all Californians.
Celebrating the California Lifestyle
California is also known for its organic food and healthy living. From the fruits of Napa Valley to the avocados of Southern California, our state is a foodie's paradise. We also have a long tradition of healthy living, with many Californians embracing a plant-based diet and active lifestyle.
But beyond our healthy habits, California is also a state that knows how to have fun. We love to celebrate, and our many festivals and events are a testament to that. From the Rose Parade in Pasadena to the Long Beach Grand Prix, there is always something to celebrate in California.
Regional Differences
Of course, California is a big state, and there are many regional differences to consider. From the beaches of Malibu to the mountains of Nevada, each region has its own unique flavor. Whether you're in the wine country of Sonoma or the seaside town of Carmel, there is always something new to discover.
At the end of the day, what makes California so special is its people. We are a state of divers, and we celebrate that diversity every day. Whether you're visiting California for the first time or you've lived here your whole life, we hope you'll join us in celebrating the Golden State.
Exploring California
California is a state that has something for everyone. From the natural beauty of its state and national parks to the diversity of its communities and the thought-provoking culture that is the foundation of its lifestyle, there's always something to celebrate in the Golden State. We love exploring California and have some travel tips and recommendations for you.
Travel Tips and Recommendations
When visiting California, it's important to remember that the state is huge, and there's a lot to see and do. We recommend planning your trip in advance and deciding which regions you want to visit. Some of our favorite cities include San Francisco, Los Angeles, Hollywood, Santa Monica, and San Diego. Each of these cities has its own unique vibe and plenty of things to see and do.
If you're a fan of the outdoors, California has plenty of options for you. From hiking in the state and national parks to enjoying the beaches, there's always something to do. Some of our favorite beaches include Venice Beach, Malibu Beach, and Newport Beach. And if you're looking for a more challenging hike, we recommend checking out Joshua Tree National Park or Sequoia National Park.
Must-Visit Destinations
California is home to some of the most famous destinations in the world. If you're a fan of wine, we recommend visiting Napa Valley or Sonoma. Both of these regions are known for their vineyards and wine tastings. And if you're looking for a more relaxed vacation, we recommend visiting Sausalito or Carmel. These small towns are perfect for families and offer a more laid-back vibe.
For those who love national parks, Yosemite National Park is a must-visit destination. This park is home to some of the most beautiful natural scenery in the world. And if you're looking for a beach vacation, we recommend visiting Long Beach or Palm Springs. Both of these destinations offer plenty of sun, sand, and relaxation.
Overall, California is a state that has something for everyone. Whether you're looking for natural beauty, diversity, or a celebration of culture and traditions, California has it all. We love exploring this state and can't wait to honor the voices and progress of its team members and communities. So pack your bags, grab your masks, and hop on BART or a plane to visit California!
Frequently Asked Questions
What makes living in California so appealing?
Living in California is appealing for many reasons. The state boasts a diverse landscape, from the beaches of Southern California to the mountains of the Sierra Nevada. The weather is generally mild and sunny, making it an ideal location for outdoor activities year-round. Additionally, California is home to some of the world's most innovative companies, such as Google, Apple, and Facebook, making it a hub for technology and innovation.
What are some unique aspects of California culture?
California culture is unique in many ways. The state is home to a diverse population, with people from all over the world calling it home. This diversity is reflected in the state's food, music, and art. California is also known for its laid-back and relaxed lifestyle, with many people embracing a “work hard, play hard” mentality.
How can one live affordably in California?
Living in California can be expensive, but there are ways to live affordably. One option is to live in a smaller city or town, where the cost of living is generally lower. Another option is to live with roommates, which can help to split the cost of rent and utilities. Additionally, it's important to budget and save money where possible, such as by cooking at home instead of eating out.
What are some popular California foods?
California is known for its fresh and healthy cuisine. Some popular California foods include avocado toast, fish tacos, and In-N-Out Burger. The state is also home to many vineyards and wineries, making it a great place to sample local wines.
What are some common characteristics of Californians?
Californians are known for their laid-back and friendly attitude. They tend to be open-minded and accepting of different cultures and lifestyles. Many Californians are health-conscious and enjoy outdoor activities such as hiking, surfing, and yoga.
What are some famous quotes about California living?
“California, here we come!” – The O.C.
“The future's so bright, I gotta wear shades.” – Timbuk 3
“California dreamin', on such a winter's day.” – The Mamas & The Papas
“I love California. It's the only place you can go from the beach to the snow, and back again, all in one day.” – Unknown
As Seen on…


